Transform Your Walls with the Radiance of Strip Lights
The Rise of Strip Lights
In recent years, the use of strip lights has become increasingly popular in home décor. This is because they offer a flexible, efficient, and cost-effective way to add lighting to any space. However, one of the most innovative applications of strip lights is the creation of a stunning strip light wall.
The Benefits of Strip Light Walls
Strip light walls are an excellent way to elevate a room’s ambiance, add uniqueness, and bring out its striking features. Additionally, strip lights are known for their adaptability and versatility. They come in different colors, brightness levels, and lengths, making them easy to customize and tailor to your preferences.
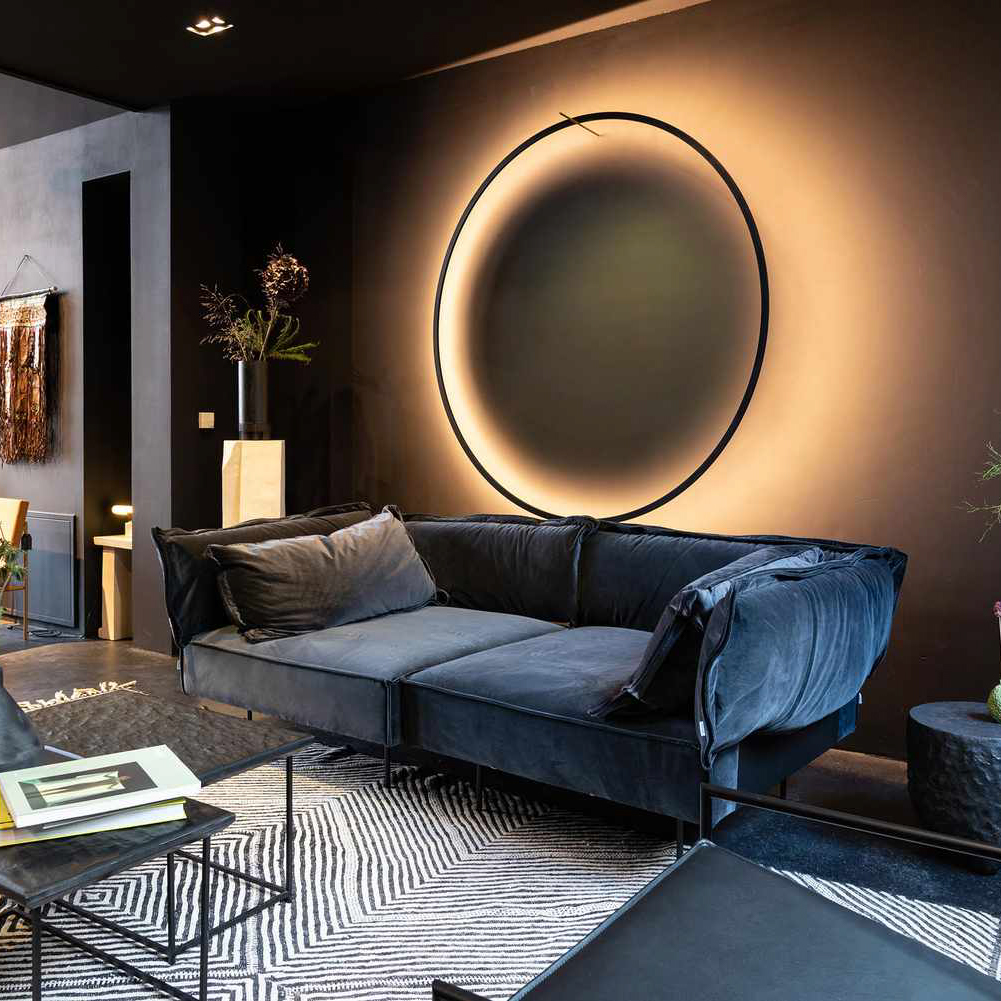
Strip light walls can be installed in several ways, including horizontally, vertically, or even diagonally. More so, they can be used to highlight wall art or create a focal point. Also, they can complement any room’s interior décor without you having to sacrifice functionality.
How to Create a Strip Light Wall
To create a strip light wall, you will need the following: strip lights, LED power supply, adhesive strips, cutting tools, and a measuring tape. Once you have all the necessary equipment, follow these steps to create your strip light wall:
1. Measure your Walls and Strip Lights
Determine the length and width of your wall and measure the strip light to determine the number of cuts you need. Cut the light strips at the proper intervals according to your measurements.
2. Peel off the Adhesive Strips and Attach the Light Strips
Remove the adhesive from the back of the strip light and press it onto the wall’s surface where you want to install it. Repeat the process to attach all the light strips.
3. Wire and Connect the LED Power Supply
Connect the LED power supply to the strip light following the manufacturer’s instructions. Once you have connected the power supply, insert the power cord into the nearest electrical outlet.
4. Control the Strip Light
Finally, control the light’s color, brightness, and rhythm using a compatible controller to achieve the desired ambiance.
Design Ideas for Strip Light Walls
Strip lights offer endless design possibilities. Here are some ideas to inspire your creativity:
1. A Glamorous Headboard
Transform your bedroom’s ambiance by creating a glamorous headboard using strip lights. Install the light strips behind the headboard to create a soft, romantic glow that sets the perfect mood for relaxing.
2. A Statement Wall
Make a bold statement by installing colorful strip lights behind a unique wall feature. This technique will create a dramatic ambiance that is sure to stun your guests.
3. An Accent Wall
Create an accent wall in your living room, entertainment room, or any other space using strip lights. This will help to highlight and showcase your décor while creating a warm, inviting ambiance.
4. A Creative Border
Install strip lights around the border of your room’s ceiling for a creative touch that will add elegance and sophistication to your space.


